How to Set Up a Bitcoin Keeper Multisig Vault with Hardware Wallet Signing
Step-by-step guide to creating a 2-of-3 multisig vault in Bitcoin Keeper, connecting hardware signers, and testing your setup safely.
A single hardware wallet protects your bitcoin from online threats, but it creates a single point of failure. Lose that device or backup seed, and your funds may be gone forever. Multisig changes the equation entirely: with a 2-of-3 setup, you need any two of three keys to spend, meaning one lost or compromised key doesn't spell disaster.
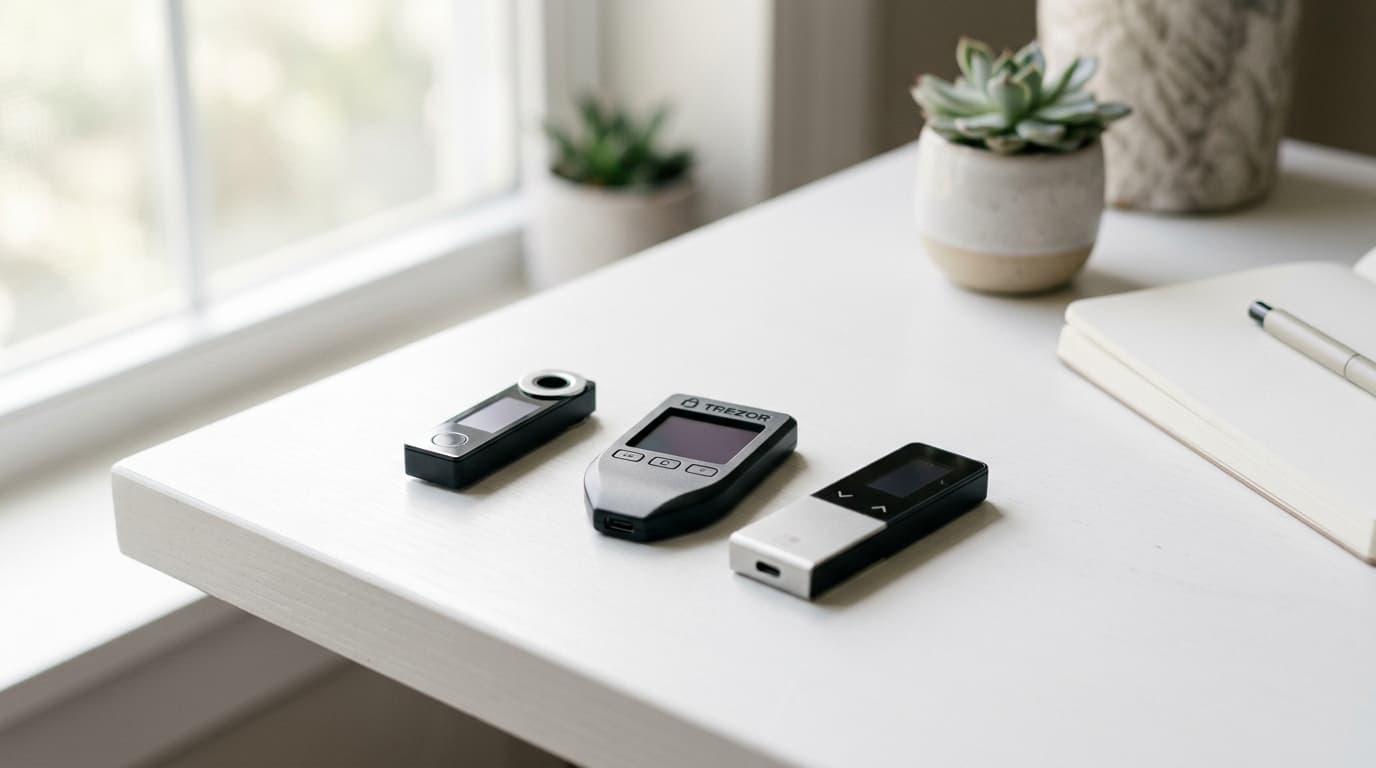
Bitcoin Keeper makes this level of security accessible from your phone. The free, open-source app works on both iOS and Android, supporting popular hardware wallets like Coldcard, Tapsigner, Jade, Ledger, and BitBox02. Here's how to set up your first multisig vault and test it properly before committing significant holdings.
What You'll Need
Before starting, gather your hardware:
- Two or three hardware wallets (or a mix of hardware and mobile keys for testing)
- The Bitcoin Keeper app installed on your phone
- A few minutes of uninterrupted time
- A small amount of bitcoin for testing (enough to cover a couple of transactions)
For maximum security, a full hardware setup uses three separate devices stored in different locations. However, you can start with one hardware wallet and use Bitcoin Keeper's software keys for the others while you're learning. Just understand that software keys on your phone provide less security than dedicated hardware.
Step 1: Create Your Vault
Open Bitcoin Keeper and select "Create Vault" from the main screen. You'll be prompted to choose your configuration. For most users, 2-of-3 offers the right balance: you need two keys to spend, and losing one key doesn't lock you out.
Give your vault a descriptive name, something like "Cold Storage Main" or "Family Savings." This helps if you eventually manage multiple vaults.
Step 2: Add Your Signing Keys
This is where the real work happens. Tap "Add Key" and select "Hardware" to connect your first device.
The connection method depends on your hardware wallet:
- NFC-enabled devices (Tapsigner, some Coldcard models): Hold the device to your phone's NFC reader. You'll typically enter your PIN on the hardware wallet first.
- QR-based devices (Passport, Coldcard Q): The app displays a QR code for your hardware wallet to scan, then you scan the response code back into Keeper.
- MicroSD transfer: Export the key information to a card and import it into the app.
Repeat this process for each key in your setup. If you're using a mobile key for testing purposes, Bitcoin Keeper can generate one within the app.
A Note on Key Diversity
Some security-minded users choose hardware wallets from different manufacturers. The reasoning: a vulnerability in one vendor's firmware won't compromise your entire setup. This may be overkill for modest holdings, but it's worth considering for larger amounts.
Step 3: Register the Multisig Configuration
Here's a step that catches newcomers off guard. Your hardware wallets need to know about the multisig arrangement, not just Bitcoin Keeper.
Follow the app's prompts to register the vault configuration on each hardware device. This process varies by manufacturer, but generally involves confirming the multisig details (number of signers, extended public keys) on the hardware wallet's screen.
This registration is crucial. Without it, your hardware wallet won't recognize transactions from this vault as legitimate.
Step 4: Verify Your Receive Address
Before sending any bitcoin to your new vault, verify the receive address across multiple devices. Generate a receive address in Bitcoin Keeper, then check that the same address appears on at least one of your hardware wallets.
This verification catches a category of attacks where malware might try to substitute an attacker's address. If the addresses match across independent devices, you can trust the address is genuinely controlled by your keys.
Step 5: Test with a Small Amount
Send a small test transaction to your vault, something you can afford to lose if you've made a configuration mistake. Wait for confirmation, then immediately test spending from the vault.
To spend, initiate a transaction in Bitcoin Keeper. The app will prompt you to sign with your required number of keys (two, in a 2-of-3 setup). Connect each hardware wallet in turn, approve the transaction on the device, and return the signature to Keeper.
Only after successfully sending and receiving should you consider moving larger amounts.
Backup Essentials
Multisig doesn't eliminate the need for backups; it changes what you need to back up.
- Each seed phrase: Store these separately and securely. The whole point of multisig is geographic distribution.
- Wallet descriptor file: This contains the information needed to reconstruct your vault structure. Bitcoin Keeper lets you export this. Without it, recovering from backup seeds becomes significantly harder.
Bitcoin Keeper's key management center provides tools to view keys across vaults, test key health, and even rotate compromised keys with quorum approval.
Advanced Features Worth Knowing
Recent updates to Bitcoin Keeper (version 2.0.1 in early 2025 added Miniscript integration) enable more sophisticated setups. The inheritance key feature deserves particular attention: you can add a time-locked key that only becomes valid after a specified period, defaulting to one year. This provides a recovery path for heirs without requiring them to hold keys during your lifetime.
The app also offers in-app concierge support for users who want guidance through the setup process.
Common Pitfalls to Avoid
Skipping address verification: Always confirm receive addresses on hardware devices before sending significant funds.
Storing all seeds together: This defeats the purpose of multisig. Geographic separation protects against physical threats like theft or fire.
Not testing the full signing process: A vault you can't spend from is worse than useless. Always complete a full send/receive cycle with test amounts.
Forgetting the wallet descriptor: Without this file, reconstructing your vault from seed phrases alone requires knowing the exact derivation paths and key order.
Is This Level of Security Necessary?
For a few hundred dollars in bitcoin, probably not. The complexity of multisig introduces its own risks: misconfiguration, lost descriptors, forgotten procedures.
But for holdings that represent meaningful wealth, the math changes. Multisig eliminates the nightmare scenario where one mistake, whether theft, loss, or coercion, costs you everything. As one Bitcoin Magazine analysis noted in late 2025, combining multisig with geographic seed distribution remains the gold standard for serious self-custody.
Bitcoin Keeper's tiered approach lets you start simple with a basic hot wallet, then graduate to multisig configurations as your holdings and confidence grow. That progression makes sense for most people: learn the basics first, then add complexity when the stakes justify it.