How to Set Up Solo Bitcoin Mining with Solo Satoshi Bitaxe Hardware
Step-by-step guide to configuring Solo Satoshi Bitaxe miners for home solo Bitcoin mining, from Wi-Fi setup to pool configuration.
In March 2025, a stock Bitaxe Gamma running at just 1.2 terahashes per second mined Bitcoin block #889,975, earning its owner 3.149 BTC. That's roughly the equivalent of winning a lottery where you're competing against machines producing 700 exahashes per second combined. The odds are absurd, but someone has to win.
This guide walks through setting up Solo Satoshi Bitaxe hardware for home solo mining. The process is straightforward, taking about 15 minutes, but getting the details right matters if you want your miner actually submitting valid shares to the network.
What You're Working With
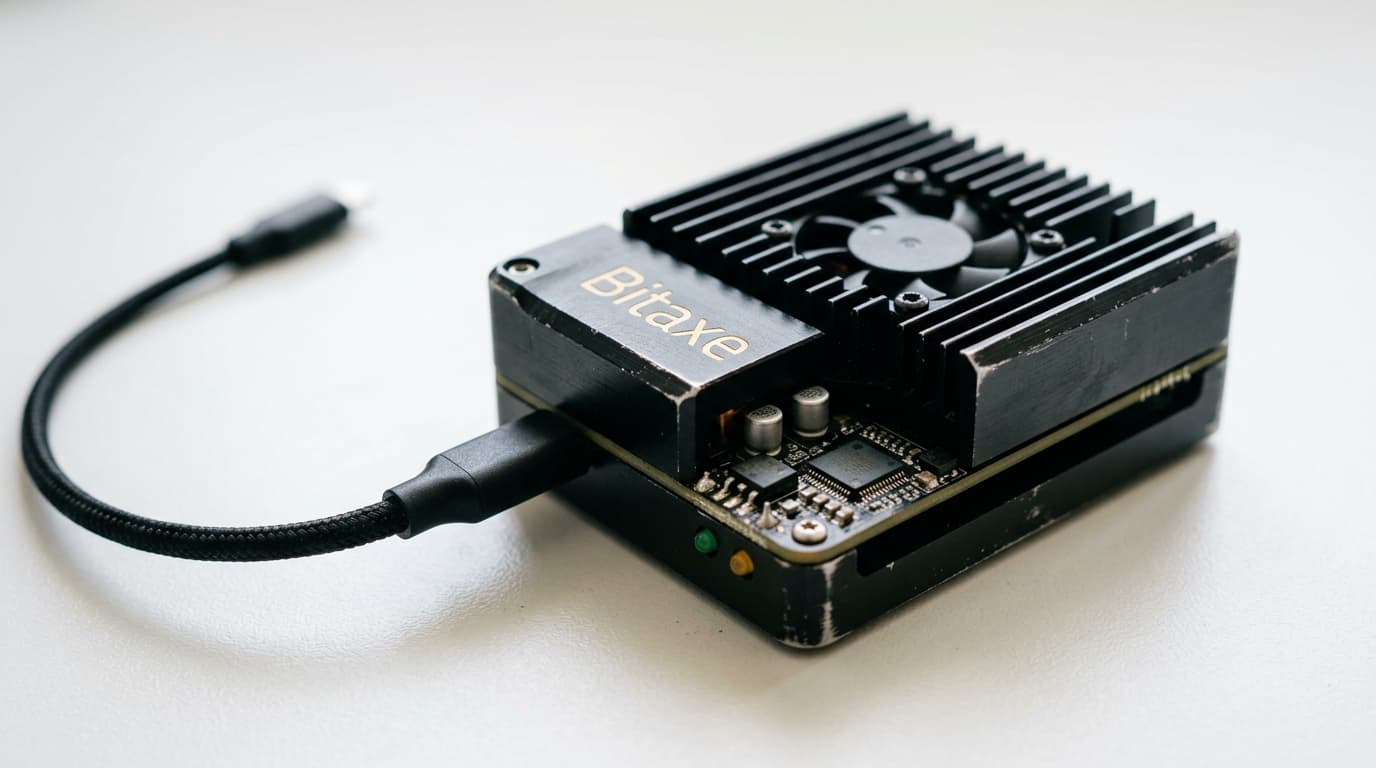
The Bitaxe Gamma, Solo Satoshi's current flagship model, delivers 1.2 TH/s at roughly 18 watts, achieving efficiency around 15 joules per terahash. It uses the BM1370 ASIC chip, the same silicon found in Bitmain's Antminer S21 Pro, just running as a single chip rather than hundreds.
The device ships assembled from the USA with a 90-day warranty and comes pre-loaded with AxeOS, the open-source firmware that handles everything from Wi-Fi connectivity to pool communication.
Initial Power and Network Setup
Plug your Bitaxe into the provided power supply. The Gamma uses a 5V adapter, while larger models like the Turbo Touch require 12V. Using the correct supplied power supply matters; third-party adapters can damage the device or cause unstable operation.
Once powered, the Bitaxe creates its own Wi-Fi hotspot. Look for a network named something like "Bitaxe_0469" (the numbers vary by unit). Connect to this hotspot from your phone or laptop, then open a browser and navigate to 192.168.4.1.
You'll see the AxeOS configuration interface. Enter your home Wi-Fi credentials here, but note one important limitation: the Bitaxe only supports 2.4GHz networks. If your router broadcasts 5GHz and 2.4GHz under the same network name, you may need to separate them or create a dedicated 2.4GHz network.
Save your settings and restart the device. It will disconnect from its own hotspot and connect to your home network instead.
Finding Your Miner on the Network
After the restart, the Bitaxe's small OLED screen displays its new IP address on your home network. This might look like 192.168.1.47 or similar, depending on your router's DHCP assignment.
Enter this IP address in your browser to access the AxeOS dashboard. From here, you can monitor hashrate, temperature (normal operating range is 60-70°C), and submitted shares.
Configuring Solo Mining
Here's where the critical step happens. Devices from Solo Satoshi may come pre-configured to connect to solo mining pools, but they often ship with a default wallet address. If you don't change this, any block rewards go to someone else.
In the AxeOS interface, locate the mining configuration section and enter these settings:
Stratum Host: public-pool.io
Stratum Port: 21496
Stratum User: Your Bitcoin wallet address (e.g., bc1q...)
Password: x
Alternatively, you can use solo.ckpool.org as your stratum host. Both pools are designed specifically for solo miners and don't take custody of your potential winnings; they simply coordinate work distribution.
The "Stratum User" field must contain a valid on-chain Bitcoin address. This is where block rewards would go if you ever win. Triple-check this address. There's no customer support to recover funds sent to a typo.
Save your settings and restart the miner.
Verifying Your Setup
After configuration, confirm everything works by checking two places. First, watch the AxeOS dashboard. You should see your hashrate stabilize around the expected 1.2 TH/s for a Gamma, with accepted shares incrementing over time.
Second, visit web.public-pool.io (if using Public Pool) and search for your wallet address. You should see your miner listed with its hashrate and share statistics. If nothing appears after 10-15 minutes of mining, something in your configuration is wrong.
Common Setup Problems
The most frequent issues during setup include:
"No AP Found" errors usually mean incorrect Wi-Fi credentials or attempting to connect to a 5GHz network. Double-check your password and confirm you're using 2.4GHz.
Invalid wallet addresses prevent proper pool registration. Ensure your address is complete, correctly formatted, and doesn't include extra spaces.
Some routers with aggressive security features (marketed as "AI protection" or similar) block mining traffic. If your miner connects but shows zero accepted shares, try temporarily disabling these features to diagnose.
Adding a Fallback Pool
AxeOS supports configuring a secondary pool. This keeps your miner working if your primary pool experiences downtime. Use the same format, entering a different solo pool's stratum information with your same wallet address.
Keeping Firmware Updated
Solo Satoshi's Bitaxe runs AxeOS, which receives periodic updates. As of early 2026, versions 2.12 through 2.13 are current. To update, navigate to the "Update" tab in the AxeOS interface and upload the appropriate firmware files (www.bin and esp-miner.bin).
The firmware is open-source, part of the broader ESP-Miner project, so you can verify exactly what code runs on your hardware if you're inclined.
Setting Realistic Expectations
Let's be direct about the math. Your Bitaxe Gamma produces 1.2 TH/s. The Bitcoin network's total hashrate sits around 700 EH/s (700 million TH/s). Your share of that is roughly 0.00000017%. Mining a block solo with this hardware is statistically comparable to winning a modest lottery.
Between February 2025 and February 2026, approximately 22 blocks were mined by small solo hardware including various Bitaxe models. It happens, but it's not a reliable income source.
People run these miners for different reasons: the educational value of participating in Bitcoin's consensus mechanism, the lottery-style thrill, the satisfaction of contributing (infinitesimally) to network decentralization, or simply as a conversation piece that happens to produce heat. At 18 watts, a Bitaxe costs about $15-20 per year in electricity depending on your rates. That's the price of the lottery ticket.
Hardware Placement and Safety
Ensure adequate ventilation around your miner. While 18 watts isn't substantial heat output, confined spaces can cause temperatures to climb beyond the comfortable 60-70°C operating range.
Keep the device away from moisture and dust. The exposed circuit board design of most Bitaxe models means they're more vulnerable to environmental contamination than enclosed industrial miners.
Making Your Decision
Solo Bitcoin mining with Bitaxe hardware makes sense if you understand and accept the lottery odds. You're not competing with industrial operations on economics; you're playing a different game entirely.
The setup process itself takes minutes, not hours. The ongoing maintenance is essentially zero. And if lightning strikes, you'll have a story worth telling. Just don't make financial plans around that outcome.