
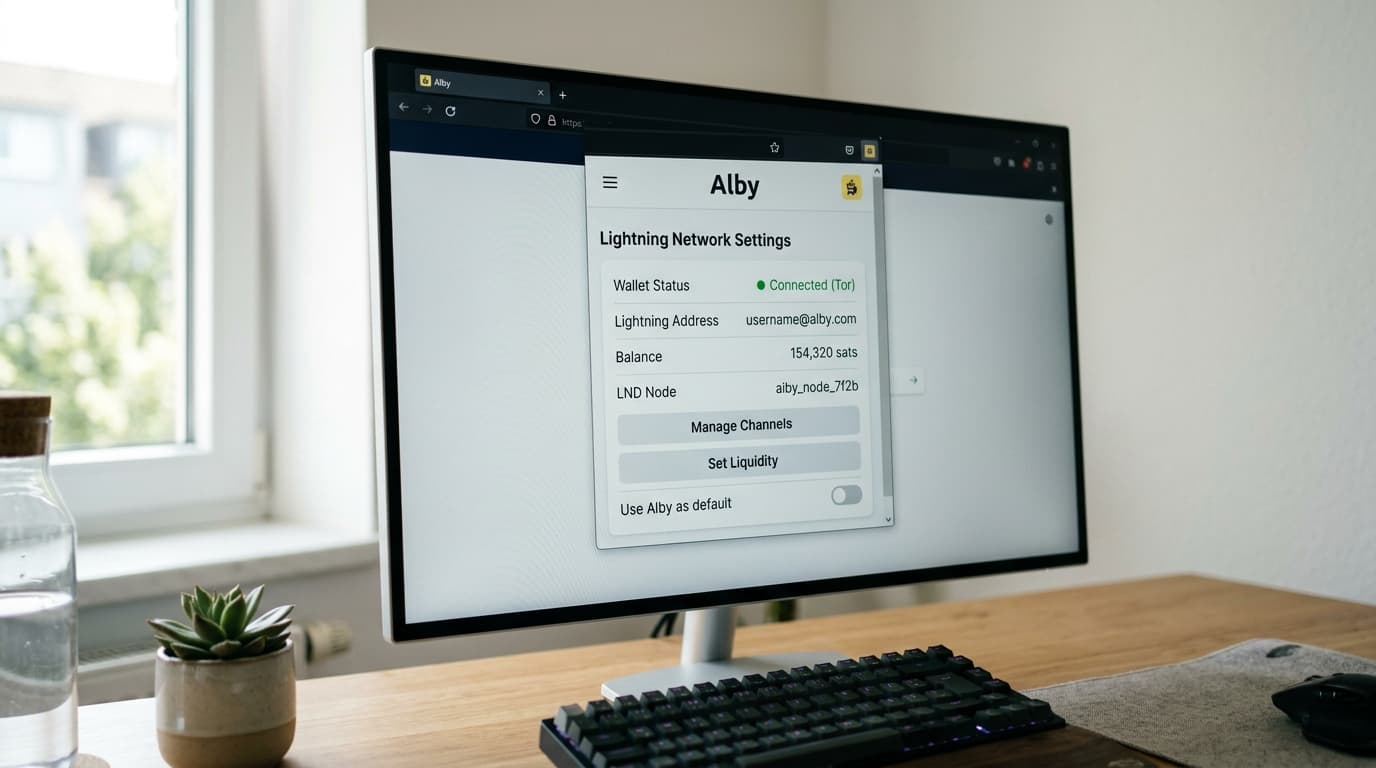
How to Set Up Alby Browser Extension with Your Own Lightning Node
Connect the Alby browser extension to your own Lightning node for self-custodial web payments. Step-by-step guide for Alby Hub, LND, and Core Lightning.
Most Lightning browser wallets ask you to trust someone else with your funds. The Alby browser extension takes a different approach: it can connect directly to a Lightning node you control, keeping your keys on your device while giving you one-click payments across the web.
This guide walks through connecting Alby to your own node, whether that's Alby Hub, an LND instance, Core Lightning, or a node running on platforms like Start9 or MyNode. The setup takes about ten minutes if your node is already running.
Why Connect to Your Own Node
Running your own Lightning node and connecting Alby to it offers three concrete advantages:
Full control over funds. Your private keys never leave your infrastructure. Alby stores connection credentials locally in your browser, not on Alby's servers.
Better privacy. Your payment activity doesn't pass through a third-party custodian's logs. You control what information exists and who can see it.
Lower fees over time. You pay Lightning network fees directly rather than a custodian's markup. With good channel management, this can reduce costs significantly.
The tradeoff is real, though. Your node needs a constant internet connection and ideally 24/7 uptime. If your node goes offline, you can't make or receive payments through the extension. Channel management and liquidity become your responsibility.
Before You Start
You'll need:
- A working Lightning node (Alby Hub, LND, Core Lightning, or a node package like Umbrel, Start9, or MyNode)
- The Alby browser extension installed (available for Chrome, Firefox, and other Chromium-based browsers)
- Your node's connection credentials, which vary by implementation
If you don't have a node yet, Alby Hub offers the most streamlined path to self-custody. It handles the Lightning backend complexity and gives you a lightning address, a 12-word recovery seed, and connections to dozens of web and mobile apps out of the box.
Connecting to Alby Hub
Alby Hub is Alby's own self-custodial node option, designed specifically for users who want node-level control without managing LND or Core Lightning directly. It supports six different Lightning backends including LDK, Phoenixd, and Breez SDK.
Step 1: Set Up Alby Hub
If you're using Alby Cloud (their hosted Hub option), your Hub is already running. For self-hosted setups on Umbrel, Start9, or your own server, install Alby Hub through your node's app store or Docker.
Once Hub is running, you'll have a Master Key or 12-word seed phrase for recovery. Store this securely offline.
Step 2: Connect the Browser Extension
Open the Alby extension and select the option to connect to an existing wallet. Choose Alby Hub from the list. If your Hub is on the same local network, the extension typically discovers it automatically. For remote connections, you'll enter your Hub's URL and authenticate.
The extension now controls your Hub's Lightning funds. Payments you make through WebLN-enabled sites draw directly from your Hub's channels.
Connecting to Core Lightning
Core Lightning (CLN) users can connect Alby directly using a rune for authentication. This method works well for Start9 users and anyone running CLN on their own hardware.
Step 1: Gather Connection Details
You'll need three pieces of information from your Core Lightning node:
- Node host: Your node's IP address or .onion address
- Public key: Your node's identity on the Lightning network
- Rune: A credential string that grants the extension permission to interact with your node
On Start9, these are available in your Core Lightning service's properties page. Generate a fresh rune specifically for Alby rather than reusing one.
Step 2: Configure the Extension
In the Alby extension, select "Find Your Wallet" and choose StartOS (or Core Lightning, depending on your version). Enter the node host, paste your public key, and add the rune you generated.
Leave the port at 9735 unless you've configured something different. Save the connection and send a small test payment to confirm everything works.
Connecting to LND
LND is probably the most common Lightning implementation among home node runners. The connection process uses macaroon files for authentication.
Step 1: Locate Your Macaroon and Certificate
LND uses macaroons (cryptographic credentials) to authorize API access. You'll need:
- Admin macaroon: Usually at `~/.lnd/data/chain/bitcoin/mainnet/admin.macaroon`
- TLS certificate: Usually at `~/.lnd/tls.cert`
- REST host: Your node's address, typically `https://localhost:8080` for local connections
For Umbrel users, these files are accessible through the node's interface or via SSH. Convert the macaroon to hex format if the extension requires it.
Step 2: Add the Connection
In Alby, choose to connect an LND node. Enter your REST host, upload or paste the macaroon, and add the TLS certificate if required for your setup.
Test with a small payment. If the connection fails, double-check that your firewall allows the connection and that your macaroon has the necessary permissions.
Connecting via MyNode
MyNode includes built-in Alby support that simplifies the connection process.
Install the Alby extension, set your local passcode, then click "Connect" and select "Other Wallet." Choose the MyNode connector from the list and follow the prompts. MyNode handles the credential exchange automatically.
Using WebLN After Setup
Once connected, the Alby extension implements the WebLN standard, letting websites interact with your Lightning node programmatically. When you visit a site that supports WebLN (like Stacker News, Wavlake, or many Nostr clients), you can:
- Pay invoices with a single click
- Sign Nostr events without manual key management
- Stream sats to podcasters using Podcasting 2.0
- Tip content creators without copying addresses
The extension prompts you to confirm payments, so you maintain control over what gets sent.
Managing Multiple Wallets
Alby supports multiple wallet connections. You might connect Alby Hub for daily spending and a separate LND node for larger amounts. Switch between them in the extension's wallet selector.
This flexibility helps with the liquidity tradeoffs of Lightning. Different wallets can have different channel configurations optimized for different use cases.
What to Watch For
Self-custody with your own node comes with operational responsibilities:
Uptime matters. If your node is offline, payments fail. For critical use, consider a setup that can stay online reliably.
Channel management is ongoing. Inbound and outbound liquidity need attention. Running out of outbound capacity means you can't send; running out of inbound means you can't receive.
Backups are essential. Keep your seed phrase, static channel backups, and any recovery information in secure offline storage. Alby Hub's 12-word seed phrase or Master Key can restore your wallet if needed.
Moving Forward
Connecting Alby to your own node removes the custodian from your Lightning payments, but it shifts responsibility onto you. For users comfortable with that tradeoff, the combination of browser convenience and self-custody opens up how you can interact with Lightning-enabled websites and apps.
If you're new to running nodes, Alby Hub offers the gentlest learning curve while still giving you keys you control. For experienced node operators, direct LND or Core Lightning connections integrate Alby into infrastructure you already manage.
Either way, your sats stay yours.