How to Build a Bitcoin Node Case Using CryptoCloaks 3D-Printed Enclosures
Complete guide to building a Raspberry Pi Bitcoin node in a CryptoCloaks 3D-printed case, with cooling optimization and cable management tips.
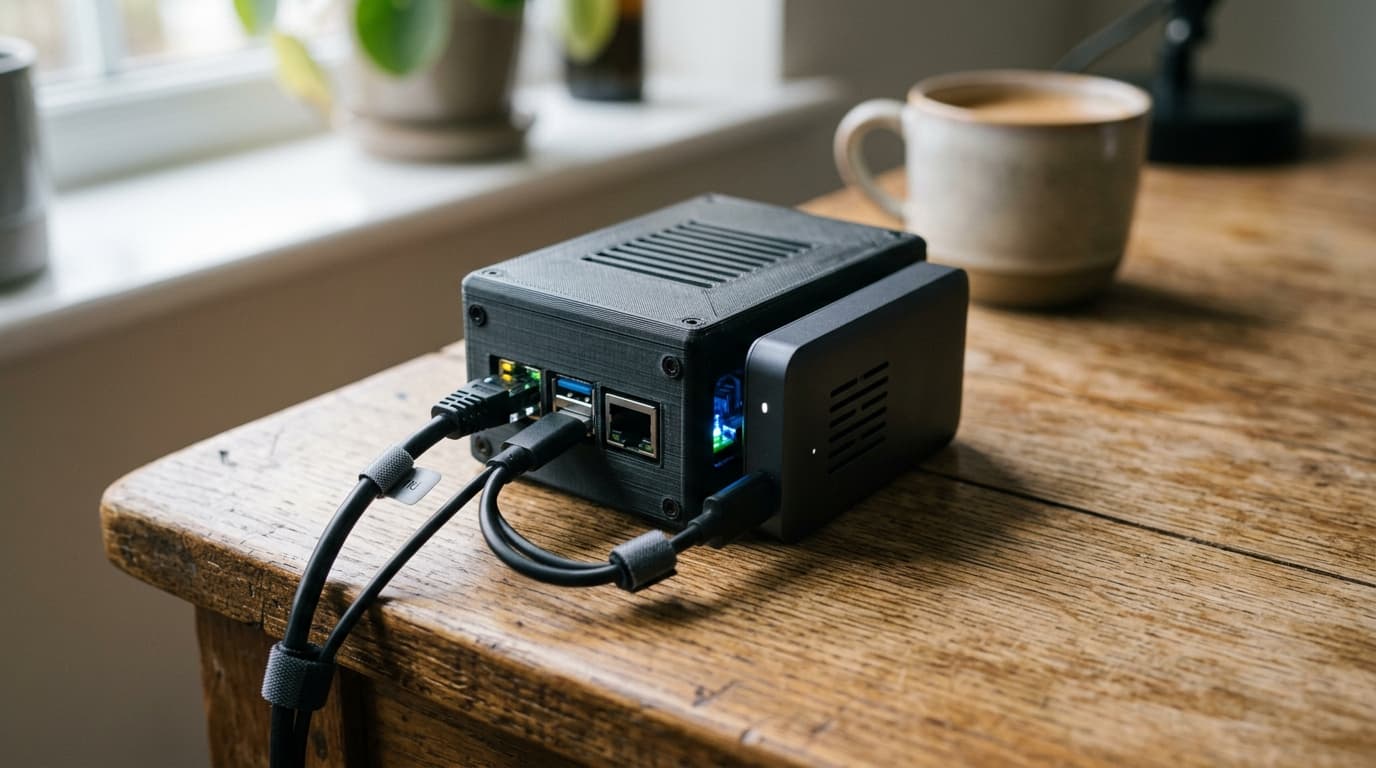
A Bitcoin node running 24/7 in your living room faces an awkward problem: the hardware works fine, but it looks like something that belongs in a server closet. Stock Raspberry Pi cases and bare SSDs dangling from USB cables don't exactly blend into a bookshelf. This is where purpose-built 3D-printed enclosures come in, turning functional node hardware into something you won't mind leaving out in the open.
CryptoCloaks, a Colorado-based Bitcoin-native shop, has built a business around exactly this problem. They design and ship 3D-printed cases, mounts, and accessories specifically for Bitcoin hardware, whether you're running a full node, a Bitaxe miner, or both. The goal isn't raw performance improvement; it's making a 24/7 node physically and aesthetically compatible with everyday life.
What You Need Before You Start
The core hardware stack for a Bitcoin node in 2026 is well-established. You'll want a Raspberry Pi 4 or 5 with 4 to 8 GB of RAM, a 32 to 64 GB microSD card for the operating system, and a 1 to 2 TB USB 3.0 SSD for the blockchain itself. The Bitcoin blockchain surpassed 550 GB in 2024 and continues to grow, so 2 TB gives you headroom for years of operation without worrying about storage.
A reliable power supply is critical. For a Raspberry Pi 5, the official 27 W supply handles both the board and an attached SSD without brownouts or throttling. For a Pi 4, a quality 15 W supply typically suffices, but don't cheap out here. Underpowered supplies cause instability that's maddening to debug.
Finally, use wired Ethernet. Wi-Fi technically works, but the Initial Block Download, which can take multiple days, benefits enormously from a stable connection. A single dropout can corrupt your sync progress and force you to restart.
Choosing the Right Case
CryptoCloaks offers enclosures shaped and sized for specific hardware combinations. When selecting a case, consider three things: the exact Raspberry Pi model you're using, whether your SSD will be internal or external to the case, and how you want to handle cooling.
Some designs integrate the SSD inside the enclosure alongside the Pi. Others expect an external drive connected via USB cable. Internal integration looks cleaner but requires careful thermal management, since you're putting two heat sources (the CPU and the SSD) in a confined space. External setups give you more flexibility but add cable clutter.
For cooling, you'll generally choose between passive designs with ventilation slots and active designs with fan mounts. A Raspberry Pi 5 running Bitcoin Core can easily reach 70 to 80 degrees Celsius under load during the initial sync. If temperatures exceed roughly 80 to 85 degrees, the CPU throttles to protect itself, dramatically lengthening your sync time. Active cooling with a small, quiet fan keeps temperatures manageable.
Material Considerations
Most CryptoCloaks node cases are printed in PLA, which works well for enclosures that don't experience sustained high temperatures. A Raspberry Pi running a Bitcoin node generates moderate heat, but nothing that will soften PLA under normal operating conditions.
If you're printing your own case from CryptoCloaks STL files (they offer digital downloads alongside finished products), the standard recommendation is 15% infill for the main shell with solid infill for smaller structural parts like legs and mounting clamps. A 0.2 mm layer height with a 0.4 mm nozzle strikes a good balance between print time and surface quality. Prioritize wall count over infill percentage for strength; node cases experience static loads rather than impacts.
For any components that sit near hotter hardware, like parts of a combined node and miner setup, PETG or ASA handles temperatures above 50 degrees Celsius more reliably than PLA.
Assembly and Cooling Optimization
Before final assembly, test-fit all components. This sounds obvious, but it saves frustration. Check that your SSD clears the walls, that USB and Ethernet cables can bend without excessive strain, and that any fans have room to spin freely.
When mounting fans, orient them so cool air is drawn across heat sources and exhausted through vent cutouts. For a typical node setup, pulling cool air in from the front and exhausting warm air out the back or top works well. The goal is a clear airflow path, not just moving air around inside a sealed box.
Noctua-style quiet fans have become standard in home node builds. They cost more than generic fans but operate nearly silently, which matters when your node sits in a bedroom or living room running around the clock. Rubber feet or vibration-dampening mounts further reduce acoustic transmission to whatever surface the case sits on.
Cable Management
Clean cable routing isn't just aesthetic; it improves airflow and makes future maintenance easier. CryptoCloaks designs often include cable channels and routing guides. Use them.
A few practical tips: keep power and data cables separated where possible to reduce interference, use short cables rather than coiling long ones inside the case, and secure cables with small clips or ties so they don't migrate into fan blades over time.
If your SSD mounts internally, route the USB cable so it doesn't block the primary airflow path. Even passive SSDs generate some heat, and restricting airflow around them can push temperatures higher than expected.
Software Setup and Integration
With the hardware assembled, you'll install your node operating system of choice. Umbrel and RaspiBlitz remain popular options, each with active communities and regular updates. Flash the OS image to your microSD card, connect your SSD (which will store the blockchain), and boot up.
The Initial Block Download will take several days on a Raspberry Pi, even with SSD storage and wired Ethernet. During this period, your CPU runs hot and your node isn't yet useful for validation. This is where good cooling proves its worth. A well-designed enclosure with active airflow keeps the CPU from throttling, shaving hours or days off the sync.
Once synced, power draw drops significantly. A Raspberry Pi plus SSD typically pulls 10 to 20 watts during normal operation, making it a genuinely low-cost way to run your own node indefinitely.
Why This Matters
Running a full node improves your personal sovereignty. You verify your own transactions without trusting anyone else's copy of the blockchain. You contribute to network decentralization. And with a thoughtfully designed enclosure, you can do all this without your spouse or roommates asking why there's an ugly pile of electronics in the corner.
CryptoCloaks and similar makers have found a real niche here, bridging the gap between functional Bitcoin hardware and the kind of thing normal people are willing to have in their homes. The technical requirements for running a node haven't changed much; a Pi and an SSD still do the job. What's changed is the recognition that physical design matters too, that domesticating Bitcoin hardware is a legitimate problem worth solving.
If you're building your first node, start with proven hardware (Raspberry Pi 5, 2 TB SSD, quality power supply), pick a case that matches your thermal and aesthetic needs, and pay attention to airflow during assembly. The result is a quiet, clean, reliable node that runs for years with minimal attention, doing exactly what it should: verifying the Bitcoin network on your terms.