How to Set Up TapSigner NFC Card for Multisig Bitcoin Wallets
Step-by-step guide to configuring TapSigner as a cosigner in 2-of-3 multisig setups, including NFC troubleshooting and backup procedures.
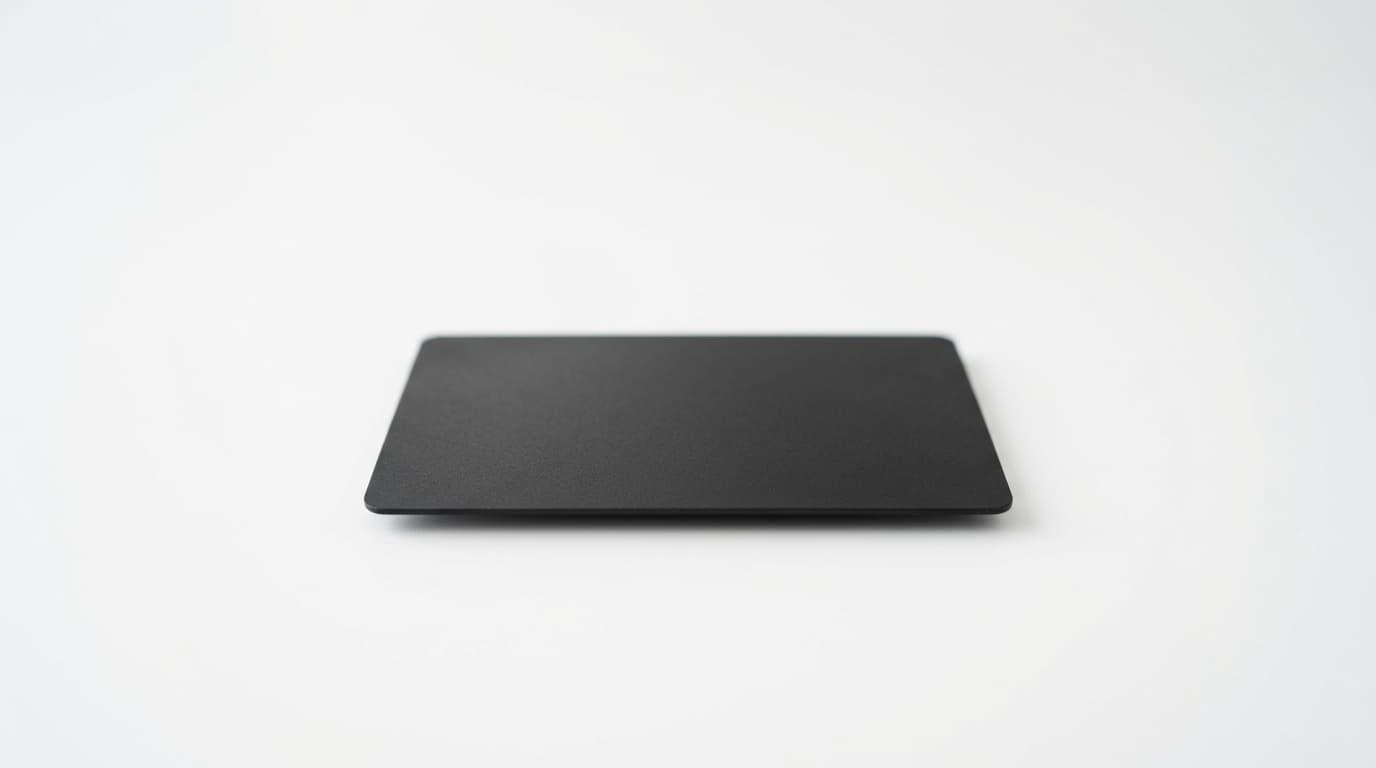
A $20 card that fits in your wallet can serve as one of the most important pieces of your Bitcoin security setup. TapSigner, Coinkite's NFC smart card, stores a BIP-32 master private key and signs transactions with a simple tap against your phone. For multisig configurations, where multiple keys must authorize a transaction, TapSigner offers an affordable way to add hardware-based security without the complexity of traditional signing devices.
This guide walks through setting up TapSigner as a cosigner in a 2-of-3 multisig wallet, a configuration that requires any two of three keys to move funds. This setup balances security against loss (you can lose one key and still recover) with protection against theft (an attacker needs to compromise two separate devices).
What You'll Need
Before starting, gather the following:
- A TapSigner card (still priced around $20 as of 2024 documentation)
- An NFC-enabled smartphone (Android or iPhone)
- Nunchuk wallet app installed (the primary app supporting TapSigner's NFC protocol)
- Two additional signing keys for your 2-of-3 setup (these could be another TapSigner, a Coldcard, or software keys)
- A secure place to store your encrypted backup file and the AES key printed on the back of your TapSigner
Step 1: Initialize Your TapSigner
Open Nunchuk on your phone and navigate to add a new key. Select the NFC key option, then choose "Add TapSigner." The app will prompt you to tap your card.
Hold the TapSigner against your phone's NFC reader. On most Android phones, this is near the center back of the device. iPhones read NFC near the top edge. When the card connects, the app and card work together to generate your private key using the card's true random number generator combined with entropy from the app.
You'll be prompted to set a new PIN. The factory PIN printed on the back of your card is only for initial setup. Choose something memorable but not obvious, and different from PINs you use elsewhere. After three failed PIN attempts, the card locks temporarily with a 15-second delay, which slows down brute force attacks but won't help if your PIN is easily guessable.
Step 2: Create and Secure Your Backup
Immediately after initialization, Nunchuk prompts you to save an encrypted backup file. This file contains your private key encrypted with AES-128-CTR, using the key printed on the back of your TapSigner card.
Save this file somewhere secure, whether that's an encrypted drive, a password manager, or another protected location. The backup is useless without the AES key on your card, and the card's printed key is useless without the backup file. Store them separately.
If you ever need to recover, you can decrypt this backup using standard tools (like OpenSSL) and import the extracted xprv into a new wallet. After any recovery, move your funds to a fresh wallet, since the key may have been exposed during the recovery process.
Step 3: Add Your Other Signing Keys
A 2-of-3 multisig needs three keys. In Nunchuk, add your remaining two signers. A common setup pairs TapSigner with a Coldcard (which has a screen for transaction verification) and either another TapSigner or a software key stored on your phone.
For each hardware device, follow its specific setup process. Coldcard users export their xpub via microSD. A second TapSigner initializes the same way as your first.
Once all three keys are added to Nunchuk, you'll see them listed in your key management section.
Step 4: Create the Multisig Wallet
With all keys registered, create a new wallet in Nunchuk. Select the multisig option and choose your three keys. Set the threshold to 2-of-3.
The app generates a wallet descriptor that defines exactly which keys can sign and how many signatures are required. Export the BSMS (Bitcoin Secure Multisig Setup) configuration file and back it up alongside your other recovery materials. Without this descriptor, recovering a multisig wallet becomes significantly harder, even if you have all the keys.
Step 5: Signing Transactions
When you want to spend from your multisig wallet, Nunchuk creates a PSBT (Partially Signed Bitcoin Transaction) that needs two of your three signatures.
To sign with TapSigner, review the transaction details in the app, then tap "Sign." Enter your PIN when prompted, and hold the card against your phone. The card signs the transaction without ever exposing your private key to the phone.
Repeat with your second signing device. For a Coldcard, you'll transfer the PSBT via SD card, verify on the Coldcard's screen, and transfer back. Once two signatures are collected, Nunchuk can broadcast the transaction.
Understanding the Tradeoffs
TapSigner's lack of a screen means you're "blind signing." The card signs whatever data the app sends without independently displaying transaction details. This makes trusting your wallet software essential. Nunchuk is open source and well-regarded, but the fundamental limitation remains: you're relying on the app to show you accurate information.
Pairing TapSigner with a screened device like Coldcard in your multisig setup addresses this. For any transaction to go through, at least one signing happens on a device where you can verify the destination address and amount independently.
The card comes with an RF-blocking sleeve. Use it. NFC has a very short range, but there's no reason to leave the card exposed when not in use.
NFC Troubleshooting
NFC can be finicky. If your phone isn't detecting the TapSigner:
- Remove your phone case temporarily, especially thick or metallic ones
- Try different positions; move the card slowly across the back of your phone to find the sweet spot
- On iPhone, NFC reads near the top edge, not the center
- Ensure NFC is enabled in your phone's settings
- Some Android phones require the screen to be on and unlocked
iPhones historically have had more NFC reliability issues with some hardware wallets, but TapSigner's implementation tends to work better than devices requiring longer communication sessions.
When TapSigner Makes Sense
TapSigner works well as an affordable cosigner in a multisig setup, particularly when paired with a screened device for verification. It's practical for daily carrying since the credit card form factor fits in any wallet.
For single-signature setups protecting significant value, the lack of screen verification is a meaningful limitation. In those cases, a device like Coldcard or another hardware wallet with independent transaction display provides stronger guarantees.
The card's low cost means you can reasonably have several: one for spending, one in a safe deposit box, one with a trusted family member for inheritance purposes. Nunchuk has been expanding inheritance-related features, making TapSigner useful for estate planning configurations.
Moving Forward
Once your multisig is configured, test it with a small amount before committing significant funds. Send some sats to your new wallet, then spend them back to verify your signing process works smoothly with each device combination.
Document your setup. Record which devices hold which keys, where backups are stored, and the steps needed to sign and recover. A multisig setup is only as good as your ability to actually use it when needed, whether that's a routine transaction or an emergency recovery.
The TapSigner won't replace a full-featured hardware wallet for everyone, but as one piece of a thoughtfully designed multisig setup, it adds hardware-based security at a price point that makes proper key distribution practical.