How to Set Up TapSigner NFC Card for Tap-to-Sign Bitcoin Transactions
Complete TapSigner setup guide covering initialization, wallet pairing, signing your first transaction, and security practices for daily carry.
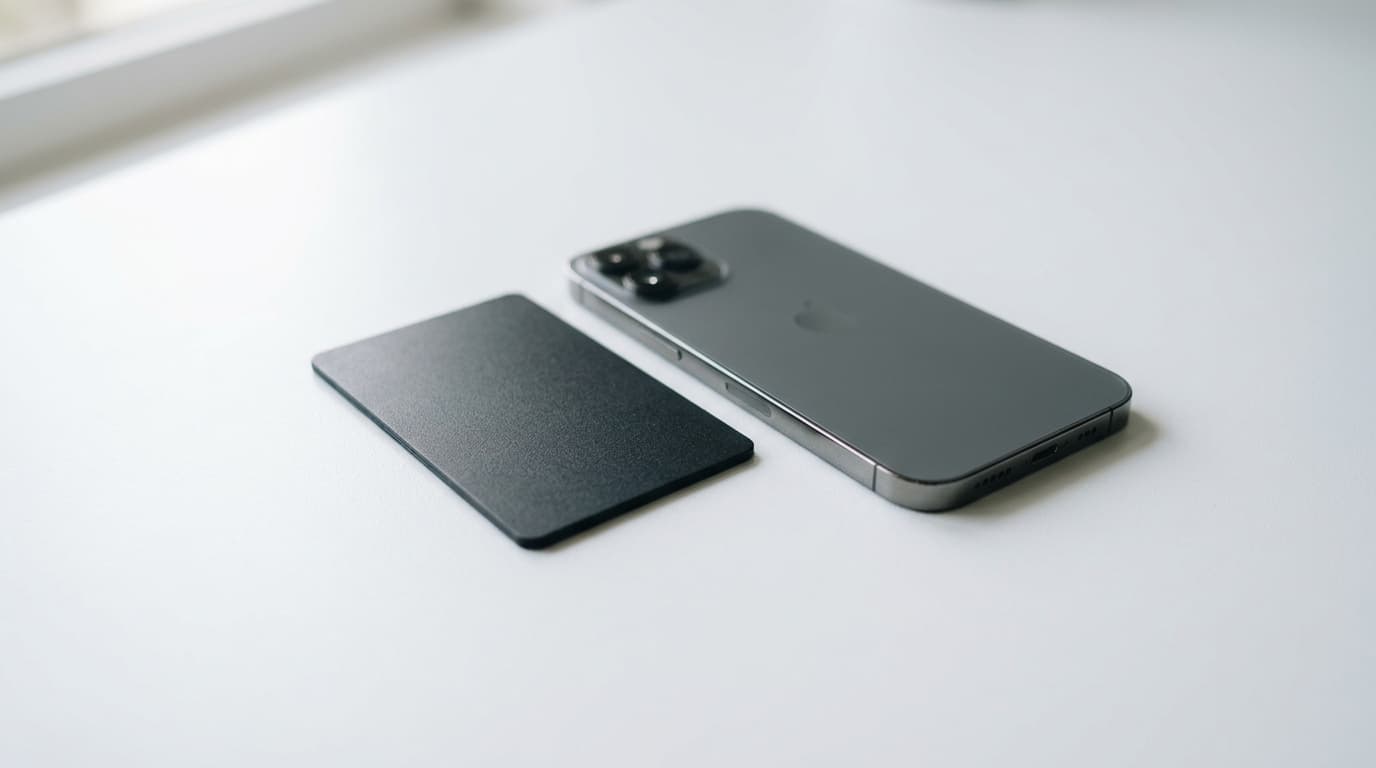
For about twenty dollars, you can carry a Bitcoin hardware wallet in your regular wallet, right next to your credit cards. TapSigner is a credit-card-sized NFC device that stores your private keys in a secure element and signs transactions when you tap it against your phone. No cables, no batteries, no complicated screens to navigate.
The tradeoff is real: unlike devices with displays, TapSigner requires you to trust what your companion wallet app shows you. But for many users, especially those managing smaller amounts or wanting a convenient secondary signing device, that tradeoff makes sense. Here's how to get one running.
What You'll Need
Before starting, gather these essentials:
- A new, sealed TapSigner card
- A compatible smartphone with NFC (most modern Android phones and iPhones work)
- A companion wallet app (Nunchuk for iOS/Android/Desktop, or Sparrow for Desktop are the most common choices)
- Paper and pen for recording your backup information
- The RF-blocking sleeve that comes with the card
The sealed packaging matters. TapSigner generates its private keys during your first setup, not at the factory. If a card arrives already initialized, don't use it.
Step 1: Install Your Companion Wallet
TapSigner doesn't work alone. It needs wallet software to construct transactions and display your balance. The card handles only the cryptographic signing.
Nunchuk is the most popular choice for mobile users. Download it from your app store and create a new wallet, selecting TapSigner as your signing device when prompted. Sparrow works well for desktop users who prefer more advanced features.
Both apps use TapSigner's open NFC protocol, which means the communication between your phone and the card is encrypted using ECDH (Elliptic-curve Diffie-Hellman). This cryptographic handshake prevents man-in-the-middle attacks, so even if someone could intercept the NFC signal, they couldn't tamper with your transactions.
Step 2: Initialize the Card
This is where your private keys come into existence. The process combines two sources of randomness: entropy you provide (called a chain code) and secret entropy from the card's internal True Random Number Generator.
Open your wallet app and start the TapSigner setup process. When prompted, tap your card against your phone's NFC sensor. Most phones have the sensor near the top back; you may need to experiment with positioning.
The app will ask you to provide entropy. This might involve tapping randomly on your screen, shaking your phone, or entering random characters. Don't skip this step or rush through it. Your input ensures that even if the card's internal random number generator were somehow compromised, your keys would still be unpredictable.
Once both entropy sources combine, the card generates a BIP-32 master private key and chain code inside its secure element. This key never leaves the card, not during setup, not during signing, not ever. Even your wallet software can't extract it.
Step 3: Set Your PIN
The app will prompt you to create a PIN code. This PIN protects every future signing operation. Choose something you'll remember but that isn't obvious.
If you enter your PIN wrong three times, the card enforces a 15-second lockout delay between retries. This makes brute-force attacks impractical, but it also means you should write your PIN down somewhere secure until you've memorized it.
Step 4: Create and Secure Your Backup
This step is critical. Skip it, and a lost card means lost bitcoin.
TapSigner uses AES-128-CTR encryption for its backup file. Your wallet app will generate an encrypted backup that you should save to your phone or computer. But the decryption key isn't stored digitally anywhere. It's the 16-byte code printed on the back of your physical card.
Copy this decryption key to paper immediately. Store that paper separately from the card itself. If you keep them together, anyone who finds both can recover your wallet.
Some users photograph the back of the card before scratching off any protective coating, then delete the photo after transcribing the key to paper. Whatever method you choose, verify you've copied the key correctly before proceeding.
Step 5: Sign Your First Transaction
With setup complete, the actual usage is straightforward:
- Open your wallet app and create a transaction as you normally would
- When ready to sign, enter your PIN
- Hold your TapSigner against your phone's NFC sensor
- Wait for the confirmation (usually a second or two)
The transaction signature happens entirely within the card's secure element. Your phone receives only the signed transaction, never the private key. You can then broadcast the transaction to the Bitcoin network.
For users comfortable with more advanced setups, TapSigner also supports Partially Signed Bitcoin Transactions (PSBTs) through the Hardware Wallet Interface (HWI), multisig co-signing, and even Lightning Network channel operations.
Security Practices for Daily Carry
TapSigner's portability is its main advantage, but carrying a signing device introduces risks that desktop-only hardware wallets don't face.
Use the RF-blocking sleeve. TapSigner includes one for a reason. Without it, an attacker with an NFC reader could theoretically communicate with your card from a distance. The sleeve blocks that. Keep the card in the sleeve whenever it's not in active use.
Don't store large amounts. TapSigner works best for spending money, not savings. Its lack of a screen means you're trusting your phone's display, which could theoretically be compromised by malware. For larger holdings or long-term storage, consider a device like ColdCard that offers air-gapped operation and independent transaction verification.
Know your recovery plan. If your TapSigner is lost or stolen, you can recover your wallet using the encrypted backup file plus the decryption key from the card's back. But the smart move is to transfer funds to a new wallet immediately. A lost card with a weak PIN could eventually be brute-forced.
Consider multisig for larger amounts. TapSigner works well as one key in a multisig setup. Nunchuk makes creating 2-of-3 configurations relatively painless, where losing one card doesn't mean losing your bitcoin.
What TapSigner Is Good For
As of 2026, TapSigner occupies a useful middle ground in Bitcoin self-custody. It's more secure than keeping keys on your phone, more convenient than traditional hardware wallets, and cheap enough to use as a secondary device.
The February 2025 launch of Flexa's Tap to Pay for retail cryptocurrency transactions showed one direction this technology is heading: physical card-based signing for in-person purchases. Whether that becomes mainstream remains to be seen, but the underlying capability is already built into TapSigner's design.
For most users, the practical application is simpler. TapSigner lets you carry hardware wallet security in your pocket, sign transactions with a tap, and maintain control of your keys without the friction that stops many people from practicing self-custody at all. That's worth twenty dollars and fifteen minutes of setup time.