
How to Start Solo Mining Bitcoin at Home with Bitaxe Hardware
A complete guide to setting up Bitaxe for home Bitcoin mining, from hardware selection to pool configuration and realistic reward expectations.
A single Bitaxe miner successfully solo-mined an entire Bitcoin block in 2025, earning 3.125 BTC plus fees. At the time, that was worth well over $200,000. The device that did it cost a few hundred dollars and draws about as much power as a bright light bulb.
Before you rush to buy one, here's what that headline leaves out: the odds of that happening to any individual Bitaxe are roughly 1 in 8,800 per year of continuous operation. Solo mining with home hardware isn't a business plan. It's a lottery ticket that also happens to teach you how Bitcoin actually works.
If you're comfortable with those odds, or if you're more interested in the educational and ideological value than the financial return, here's how to get started.
What Bitaxe Actually Is
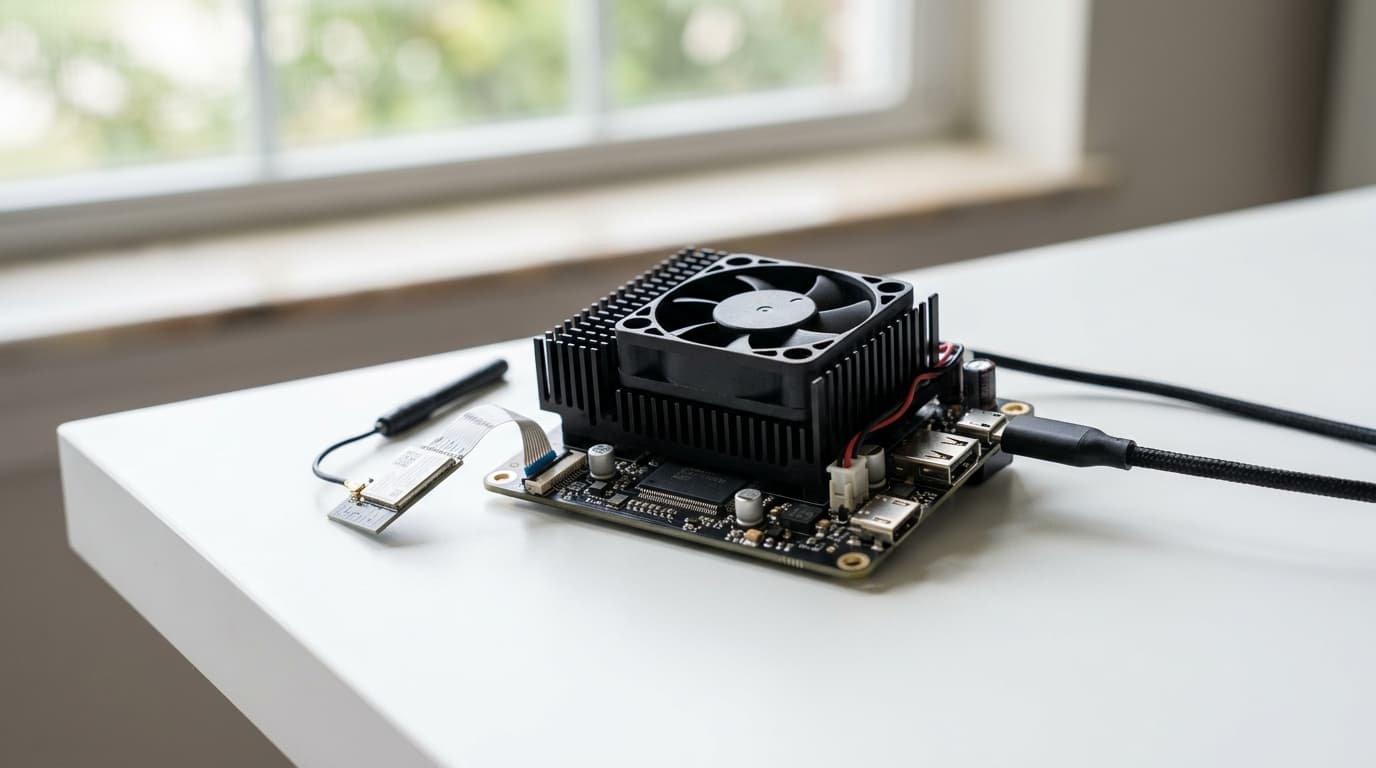
Bitaxe is an open-source family of single-chip Bitcoin miners designed specifically for home use. Unlike industrial ASICs that sound like jet engines and require dedicated electrical circuits, Bitaxe devices run quietly at low power (typically in the tens of watts range) and can sit on a desk in your living room.
The "open-source" part matters. All hardware designs and firmware are publicly available. You can inspect exactly what the device does, modify it, or even build one yourself from published parts lists. This transparency stands in contrast to most commercial mining hardware, which operates as a black box.
Current models include the Ultra, Supra, Gamma, and newer GT variants, using modern Bitmain chips like the BM1366 and BM1370. Fully assembled units typically sell for a couple hundred dollars through vendors like Solo Satoshi, which specializes in making home mining accessible. You can also source PCBs and components separately if you want the DIY experience.
The Economics You Need to Understand First
Let's be direct about the math before you spend money.
Bitcoin's mining difficulty currently sits around 149 trillion, roughly 149 trillion times more computationally intensive than when Satoshi mined the first block in 2009. A typical Bitaxe produces a few terahashes per second. The entire Bitcoin network produces hundreds of exahashes per second. Your Bitaxe represents an almost unimaginably small fraction of total network hashrate.
A May 2026 analysis calculated that a 6 TH/s home miner has approximately a 1 in 156 million chance of finding a block per 10-minute block interval, or about 1 in 1.1 million per day. Over a full year of continuous operation, your odds improve to somewhere in the neighborhood of 1 in 8,800.
Meanwhile, the device consumes electricity 24/7. At typical residential rates of $0.12 per kWh or higher, you'll spend more on power than the statistical expected value of your mining rewards. Post-2024 halving economics, with the block subsidy now at 3.125 BTC, only tighten these margins further.
So why do it? The reasons are educational, ideological, or recreational, not financial. You're learning how Bitcoin mining works at the protocol level. You're contributing, however modestly, to network decentralization by running hashrate that isn't controlled by large industrial pools. And yes, you're buying a lottery ticket where the jackpot is a full Bitcoin block.
By early 2026, community reports indicate that open-source home mining hardware, including Bitaxe devices, had collectively solo-mined at least five blocks since 2023, worth over $1 million at prevailing prices. It does happen. Just not often.
Choosing Your Hardware
Bitaxe models differ primarily in which ASIC chip they use and their resulting hashrate and efficiency. The Gamma, for example, achieves roughly 15 joules per terahash, putting it in a similar efficiency class to other modern hobbyist miners, though still far behind the most efficient industrial hardware in absolute terms.
For most home miners, the practical differences between models matter less than you might think. You're not optimizing for profit margins at this scale. Pick a model that fits your budget and is available from a reputable source. Solo Satoshi offers fully assembled Bitaxe units with educational support, which can simplify the process if you're new to mining hardware.
If you're technically inclined, you can source the PCB, ASIC chip, display, and passive components from electronics distributors like Digi-Key, then solder and assemble the unit yourself. Published parts lists and community documentation make this feasible, though it requires comfort with surface-mount soldering.
Step-by-Step Setup
Physical Setup
Unbox your Bitaxe and connect it to power using the bundled supply. The device should power on and display some basic information on its small screen, including a temporary Wi-Fi network name (something like "Bitaxe_XXXX").
Place it somewhere with decent airflow. These devices run warm, especially if you overclock them later, but they don't require special cooling for normal operation.
Network Configuration
Using your phone or laptop, connect to the Bitaxe's temporary Wi-Fi network. Open a browser and navigate to the device's setup page (typically 192.168.4.1).
Enter your home Wi-Fi credentials. The Bitaxe will reboot and connect to your home network, receiving a new IP address from your router. Check your router's admin panel or the Bitaxe's display to find this address, then navigate to it in your browser to access AxeOS, the web-based firmware interface.
Wallet Configuration
This step is critical. In AxeOS, you'll need to set the "Stratum User" field to a Bitcoin address you control. This address receives any mining rewards.
Use an on-chain wallet you control directly, not an exchange deposit address. A hardware wallet or well-secured software wallet is ideal. Solo-mined blocks are rare, but if you do find one, it could be worth hundreds of thousands of dollars. You want that reward going to an address where you control the keys, with the seed phrase backed up securely offline.
Failure to change the default Stratum user from placeholder values means any found block reward goes elsewhere, not to you.
Pool Configuration for Solo Mining
Solo mining with Bitaxe typically means one of two approaches:
Lottery-style solo pools operate like regular pools in terms of infrastructure, but pay the entire block reward to whichever miner submits the winning share. You're not splitting rewards with anyone. To configure this, set your Stratum host to the solo pool's domain (documentation will specify this), use the appropriate port (commonly 3333), and enter your Bitcoin address as the username with any arbitrary password.
True solo mining means pointing your Bitaxe directly at a Bitcoin full node you run, bypassing commercial pools entirely. This requires running a full node and a stratum gateway or translation proxy. OCEAN's DATUM gateway is one example: you run a full node, configure DATUM with node credentials, and point your Bitaxe at the gateway. Your node then builds the block templates, giving you complete control over which transactions you're mining.
For most beginners, a solo pool is simpler to set up. The practical difference for lottery odds is minimal, though true solo mining offers more privacy and sovereignty.
Advanced Configurations
Some home miners integrate Bitaxe with self-hosted infrastructure like Start9 servers, centralizing management of nodes, gateways, and miners in a privacy-preserving stack. Stratum V2, the next-generation mining protocol, introduces encrypted communication and job negotiation where miners can construct their own block templates, though deployment is still emerging across home-miner firmware.
These setups add complexity but maximize your control over the mining process. Video tutorials and community documentation walk through end-to-end configurations if you want to explore this path.
Maintaining Your Miner
Once configured, a Bitaxe largely runs itself. Monitor hashrate, share submission, and device temperature through the AxeOS dashboard. Occasional dust cleaning from fans or heatsinks helps maintain stable operation, particularly if you're overclocking.
AxeOS exposes overclock and undervolt options for those who want to experiment. Higher clock speeds increase hashrate but also increase power consumption and heat. There's no objectively correct setting; it depends on your electricity costs and tolerance for hardware wear.
Realistic Expectations
You will almost certainly never solo-mine a block. The statistics are unambiguous on this point. Over months or years of operation, you'll spend more on electricity than you'll earn in expected value.
What you will get: a working understanding of how Bitcoin mining operates at the protocol level, a small contribution to network decentralization, and participation in the most important monetary network in history. For many home miners, that's worth the electricity cost as a form of education and ideological support.
And statistically, someone running a Bitaxe will occasionally hit a block. By definition, that person won't see it coming. If your address is configured correctly and your seed phrase is secure, you'll be ready if it happens.
The sensible approach is to treat your electricity spending as the cost of participation, not an investment expecting returns. If a block ever lands, it's a windfall. If it doesn't, you've still learned something and contributed to something meaningful.